User:Trinexx!9552: Difference between revisions
Jump to navigation
Jump to search
Trinexx!9552 (talk | contribs) No edit summary |
Trinexx!9552 (talk | contribs) No edit summary |
||
| Line 15: | Line 15: | ||
! [[File:Item_arrow_32.PNG]] [[File:Item_arrow_32.PNG]] [[File:item_redboom_32.png]] [[File:item_redboomclink_32.png]] || Place 2 arrows, use boomerang and jump into water as the boomerang clinks against a wall || [[File:Splashdelete-arrow2redboomclink.gif]] | ! [[File:Item_arrow_32.PNG]] [[File:Item_arrow_32.PNG]] [[File:item_redboom_32.png]] [[File:item_redboomclink_32.png]] || Place 2 arrows, use boomerang and jump into water as the boomerang clinks against a wall || [[File:Splashdelete-arrow2redboomclink.gif]] | ||
|- | |- | ||
! [[File:item_bomb_32.png]] [[File:item_bomb_32.png]] [[File:Item_redcane_32.png]] [[File:Item_redcaneexplode_32.png]] || Place two bombs, place block, then jump in water right after exploding block || [[File:Splashdelete-bomb2caneexplode.gif]] | ! [[File:item_bomb_32.png]] [[File:item_bomb_32.png]] [[File:Item_redcane_32.png]] [[File:Item_redcaneexplode_32.png]] || Place two bombs, place block, then jump in water right after exploding block. Note one bomb can also work for this setup depending the number of active Somaria shots on screen || [[File:Splashdelete-bomb2caneexplode.gif]] | ||
|- | |- | ||
! [[File:item_bomb_32.png]] [[File:item_bomb_32.png]] [[File:Item_icerod_32.png]] [[File:Item_icerod_32.png]] || Place two bombs, quickly shoot two ice rod shots, then jump in water. Note timing is finnicky due to ice rod particles active|| [[File:Splashdelete-bombbombiceice.gif]] | ! [[File:item_bomb_32.png]] [[File:item_bomb_32.png]] [[File:Item_icerod_32.png]] [[File:Item_icerod_32.png]] || Place two bombs, quickly shoot two ice rod shots, then jump in water. Note timing is finnicky due to ice rod particles active|| [[File:Splashdelete-bombbombiceice.gif]] | ||
|- | |- | ||
|} | |} | ||
Revision as of 16:54, 27 October 2019
Splash Deletion
The following table is a list of common setups to delete the splash ancilla to activate fake flippers.
| Fake Flippers Splash Deletion Setups | ||
|---|---|---|
| Item Combination | Notes | Example |
| File:Item arrow 32.PNG File:Item arrow 32.PNG File:Item arrow 32.PNG |
Shoot 3 arrows into wall, place two bombs, then jump in water | 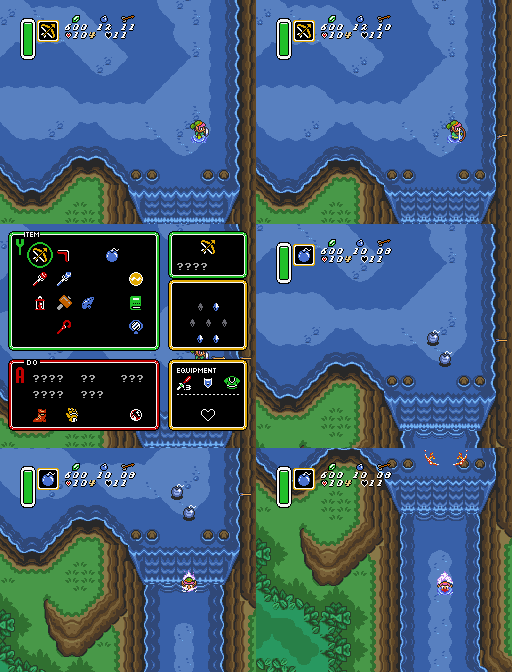
|
| File:Item redcane 32.png |
Place block, place two bombs, throw boomerang then jump in water while boomerang still active | 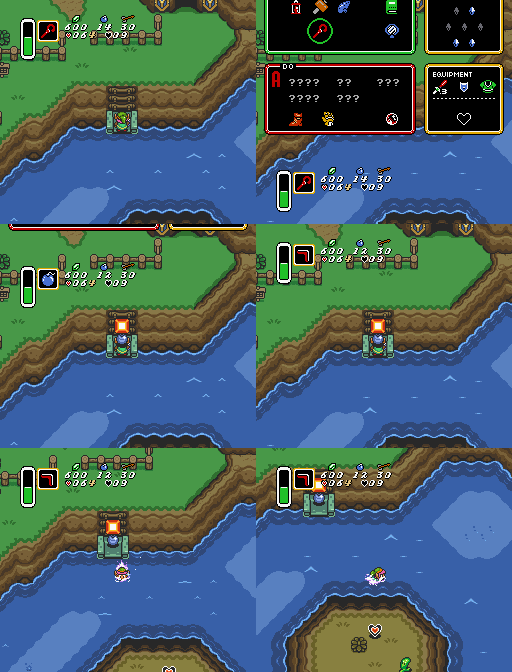
|
| Place 2 bombs, use boomerang and jump into water as the boomerang clinks against a wall | 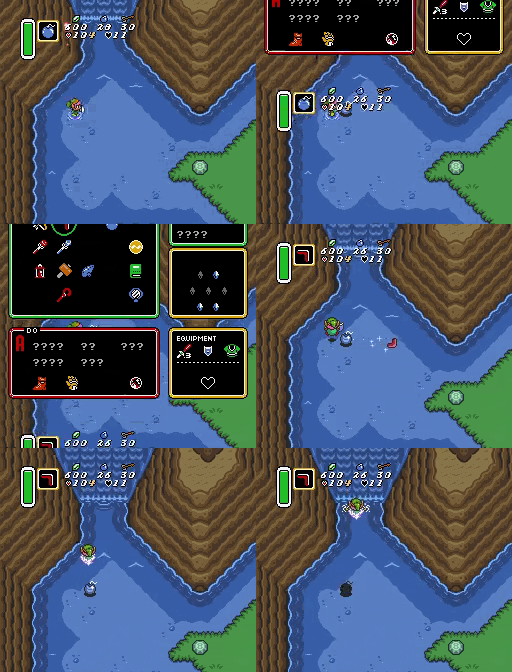
| |
| File:Item arrow 32.PNG File:Item arrow 32.PNG File:Item redboom 32.png File:Item redboomclink 32.png | Place 2 arrows, use boomerang and jump into water as the boomerang clinks against a wall | 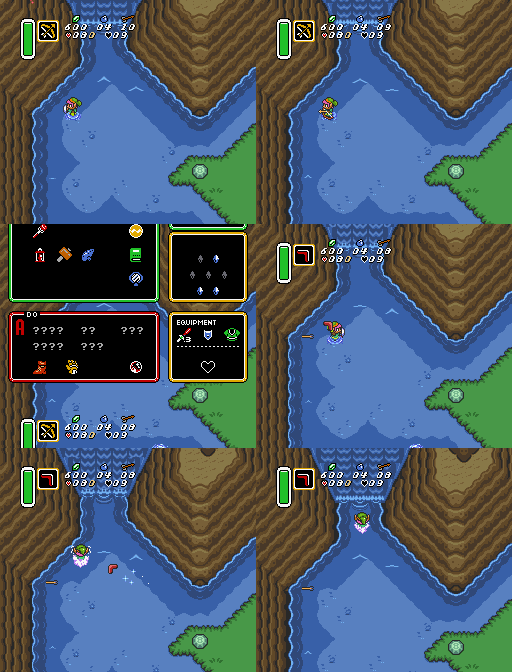
|
| Place two bombs, place block, then jump in water right after exploding block. Note one bomb can also work for this setup depending the number of active Somaria shots on screen | 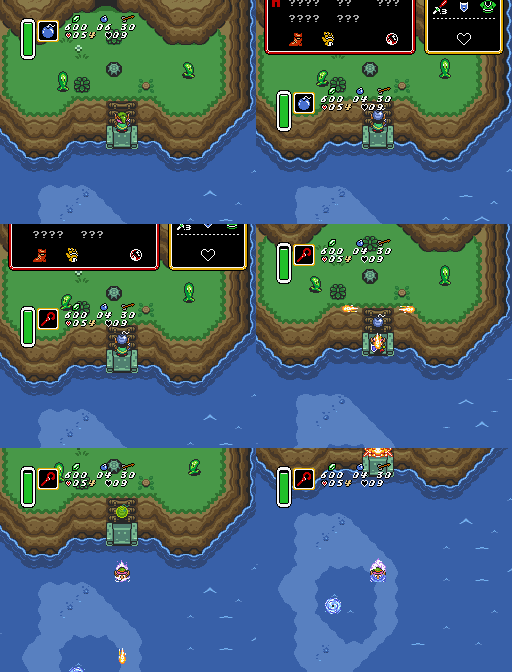
| |
| Place two bombs, quickly shoot two ice rod shots, then jump in water. Note timing is finnicky due to ice rod particles active | 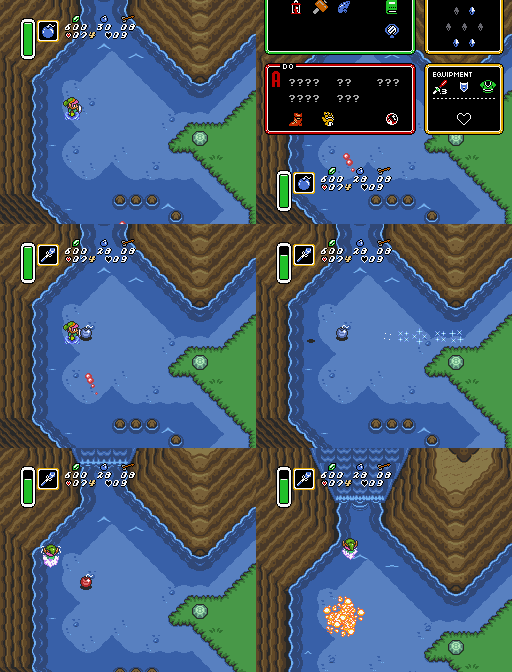
| |